Your First Week of Drawing: Drawing a Still Life

Take-away: Gather a few objects like a tree leaf, a banana, a stuffed animal or a tea bag. Now sketch one of them! This is your first still life. πŸ™‚

Do not draw from photographs for this exercise.

Reading Time: 3 minutes+ 30-60min of practice

Untitled-1

Hey there! Ready for some sketching?

This is part 3 of the series “Your First Week of Drawing”. Here is the previous part.

Here’s the first part: Where to Start?

Now, let’s draw some still lifes!

1. What is a Still Life Drawing?

When you draw a non-living object from real life, you’re making a still life. Think of all those old paintings of flowers and fruit bowls – those are still lifes. We will start very simple, with just one single object.

Good objects to pick for your first time are organics, like a bell pepper or a banana. Why? When you draw a banana and you make it a bit too thick or too small, then your drawing will still look like a banana. Now if you pick a glass or keyboard for your first attempt, then you have all that cumbersome geometry and symmetry. Draw it wrong? Now it looks broken. So it’s easier to avoid man-made objects in the beginning.

Here’s a good list to choose from:

My #1 recommendation: plant/tree leaves. Easy to find, beautiful curves and super-forgiving to draw.

  • plant or tree leaves (ivy is fun to draw!)klokhuis
  • veggies: a bell pepper, a pumpkin
  • non-round fruit like a banana or a pear
  • a banana peel
  • eaten apple core (a fresh apple is a tad too symmetrical)
  • small bones (why would you have that laying around though?)

If you don’t have any fruit or veggies laying around and not a single plant growing in your neighbourhood, then you can pick anything close to you. Don’t worry about finding the perfect beginner’s still life. It’s more important to start practicing today.

2. Why do we draw Still Lifes?

So why do we do still lifes? Our goal is to translate 3D-forms from the real world to 2D-forms on your paper. You want to understand volume and 3D-shapes. This will help later for perspective, shading and so on. Still lifes train your eye and your brain in a different way than grid drawing does.

Grid drawing can form bad habits – such as not looking at your reference as a whole or becoming unable to estimate big shapes. That’s why you want to do still lifes together with drawing from photographs.

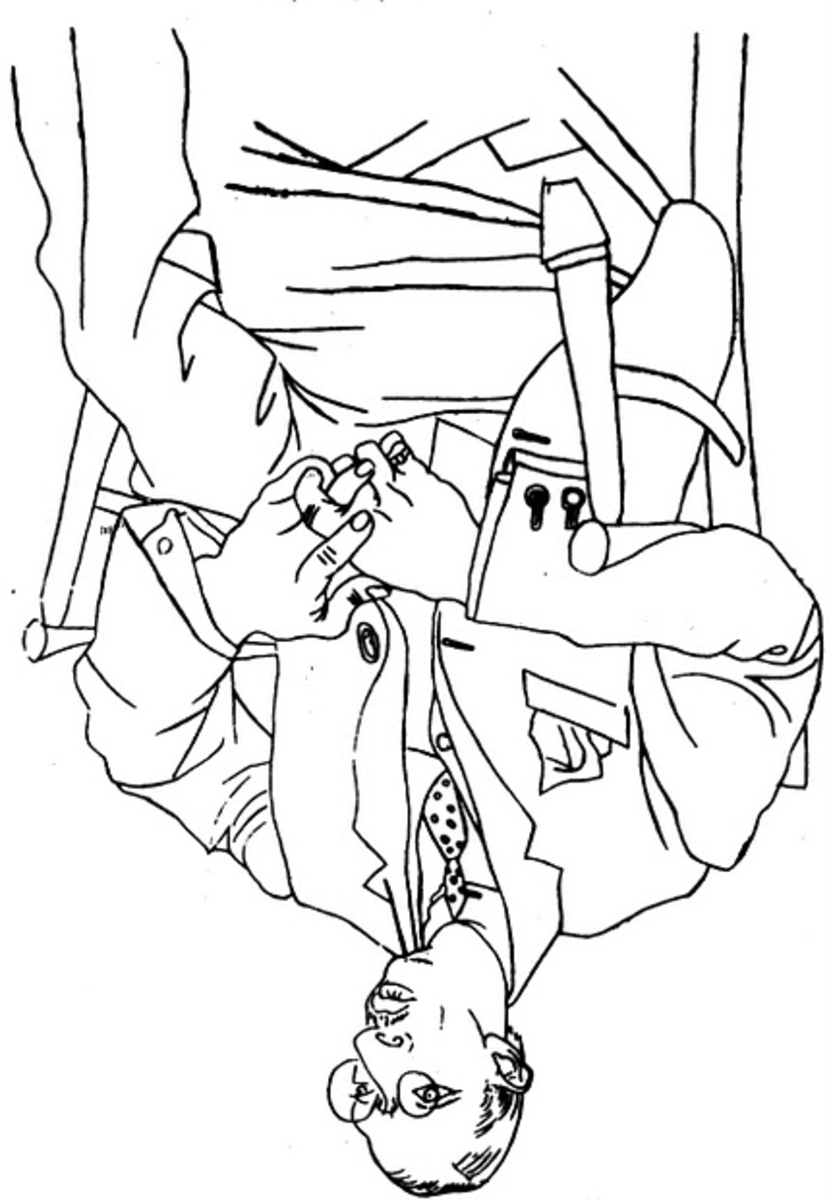
3. How to draw a Still Life

There are a lot of techniques to help still life drawing, for example creating a viewfinder. We’re not gonna look at that stuff now, this is a simple get-started walk-through.

So let’s draw!

Step 1: Draw the general shape softly (= sketching)

Step 2: Mark the details

Step 3: Draw in bold lines, correct the sketch lines when necessary

Step 4 (optional): Draw the outline of the shadow. Often the edge of the shadow is a bit fuzzy, so it’s an exercise in decision-making! πŸ™‚

Shading your still life is optional. Do whatever is more fun to you! With time and space left-over, pick up your object and draw it a few more times from different angles.

Here’s my first page:

This was a year later:

Back then I didn’t draw everyday – so you can improve faster by putting in more hours.

4. How NOT to draw a still life

Drawing from a photo of a still life is NOT drawing a still life! It’s a photo study. You’re not training 3D to 2D, instead it’s a more advanced version of grid drawing or maybe a subject study.

However, you can apply what you learn from your still lifes to your photo studies. You will have a better understanding of volume, so you can figure out what is going on in a particular pictures.

If you have any more questions, leave a comment or mail me at aiai-iris@hotmail.com (personal email).

Have fun!

– Iris


Your First Week of Drawing: Grid Drawing

Take-away: by placing grids over photographs, you can compare the angle and length of shapes to straight lines. This helps you to draw it correctly.

Reading Time: 5min + 30min practice (each day)

I uploaded a lot of pictures for this post. Let me know if the page loads slowly, then I’ll move the extra pictures to an album on Imgur ^_^

1. What is Grid Drawing?

If you read part 1 of Your First Week of Drawing (you can find it here), then you know that we want to see the world as a combination of shapes and angles. But like learning to run, you first have to go through the phases of crawling and walking.

So we take the picture we want to draw and place a grid over it like this:

The paper we will draw on gets the same grid.

What does this do? Instead of having to abstract the whole horse’s head, you can now focus on just the shapes within one square. While drawing, you tackle square by square. It’s like taking little bites instead of cramming the whole cake in your mouth.

2. Demo – Exercise Example

You can follow along with me, or choose a different picture if you don’t like horses. The other pictures are at the end of this post under “Day 1” πŸ™‚

Choose one that you like, print it out and start sketching!

STEP 1: First we look at intersections between the big shapes of the horse and the grid.

We look at the place where the horse shape crosses the line of the grid and try to estimate that location on the grid on our paper.

To help you estimate the correct location, ask yourself questions like “Is it halfway or less than halfway of the line?”

Make as many or as little as you want – when we continue drawing, you can always add more marks.

STEP 2: Now we have bunch of dots, we can look at the shape between them.

Take the ear for example. Inside the square, what does the shape look like between the marks that you made? Is it a curve or a straight line? Does it go down first or does it go up?

We can also add in an extra dot to estimate the tip of the ear. How far from the edges of the grid is it? Breaking it down into nothing but dots and lines, we’ve now drawn the ear!

Is this familiar to you? It’s like creating your own connect-the-dots drawing!

STEP 3: Just like the ear, we keep analyzing the shapes between different marks of the grid.

Little by little we outline the horse. For a difficult shape, you can first lightly sketch it or use a dotted line before committing to the final line.

Every part of the horse is just an abstract shape that we’re expressing with a line.

STEP 4:Β The most difficult shapes are those that flow through some empty space, like the halter of the horse. The technique is still the same. Compare to the edges of the grid. How far up does the line go? How curved is it?Β 

It’s about done at this stage!

STEP 5: for the last step, you can clean up your lines and add in details. Experiment if you like, you’ll make thousands of drawings over your life time. If you experiment and you don’t like the result, you can always draw it again! And if you do like the result, you’re one step closer to creating your own drawing style.

It doesn’t have to be a perfect copy. If you look at my example for a long time, you’ll see spots where I’m off a bit or my line is not rounded enough and more details like that. But it looks like the horse in the picture, right?

So how did it go? Do you feel like you are better at seeing shapes objectively?

3. Why do we start with this exercise?

Grid drawing simplifies drawing. It breaks it up in small manageable chunks, exactly what we want as a beginner. When you look at the drawing square by square, you prevent your brain from going “Horse! Let’s symbol draw!“. Instead, the grid makes it a lot easier to see just shapes and lines.

This is easy! Can I draw with a grid forever?

Grid drawing is a temporary exercise, like riding a bicycle with safety wheels. Eventually, you will ditch the safety wheels and never look back.

You might encounter online backlash when posting your grid drawings. Why? If your drawing looks very good, but has a grid on it, people might bash you for it. That’s a compliment! See it as people telling you that you’re ahead of this stage already πŸ™‚

We’re training your artist’s eye. Eventually, you’ll be able to abstract shapes so you can draw 3D-ideas with 2D-lines.

5. Getting Rid of The Grid

Grid drawing can teach you bad habits too. That’s why we’ll combine it with life drawing (this will be in part 3 of Your First Week of Drawing).

As we’re training your eye, we’ll slowly get rid of the grid. Like learning to walk, the first day is more like crawling. The whole picture is covered in squares!

By the end of the week, the only thing left will be a simple cross like this:example

6. More Exercises

Below are extra references, sorted by day. You can also make your own grid drawings! Use a photo editing program that you have or a site like IMGonline. What you want to do is overlaying the two images.

Using IMGonline (overlay images):

  1. Choose the image you want to draw
  2. From the below galleries, choose the amount of squares you want
  3. Upload both images to imgonline, in the same order (image first, squares second)
  4. Choose these settings: Iris_Hopp_Demo_Of_Overlaying1
  5. Click “OK” & then choose “download processed image” on the next page.
  6. Enjoy your drawing break! πŸ™‚

Now, here come the premade exercises… You can draw just one a day or however many you like!

Day 01 Exercise References (click left or right to choose):

This slideshow requires JavaScript.

Day 02 Exercise References:

This slideshow requires JavaScript.

Day 03 Exercise References:

This slideshow requires JavaScript.

Day 04 Exercise References:

This slideshow requires JavaScript.

Day 05 Exercise References:

This slideshow requires JavaScript.

Day 06 Exercise References:

This slideshow requires JavaScript.

Day 07 Exercise References:

This slideshow requires JavaScript.

All these pictures are my own or public domain, which means you can share them with others and you can publish (or sell!) your drawings of them πŸ™‚

If you have a bad day or a particular picture trips you up – don’t worry! Just keep on drawing the next one. Mileage is King.

Here’s the next part: Still Lifes

Let me know how it goes or post in a forum like /r/learntodraw!

Have a great day!

– Iris

Your First Week of Drawing: Where to start?

Take-away: If you’re new to drawing, the first thing you learn is seeing the world as shapes and angles. For your first exercise, draw this upside down picture. (link)

Reading-time: 4min + 20min of practice

Hey there!

New to drawing? Don’t know how to get started? When I started back in 2012, I spent two weeks worrying about β€œWhere to begin?” and “How do I start drawing?“. So I decided to go back and solve the mystery for everyone else starting today. Just follow along!

What do you need? Only two things: 1) a stack of cheap printing paper (Amazon link) and 2) a pencil or a ballpoint pen.

So, there we go:

1. The Picasso Exercise

Right now, grab a sheet of paper and a pencil and draw this picture:

Yes, just like that, upside down. Why? When you’re new to drawing, the first thing you have to learn is objectively seeing shapes and angles. When you turn it the right way round, you’ll be surprised to see how well you did!

If you’re not sure where to begin on the blank page in front of you: start with the upper left corner if you’re right-handed, or the upper right corner if you’re left-handed. Then work your way down. This way you avoid smearing the paper with your hand.

I’ll wait for you to finish. See you soon πŸ™‚

The image is Igor Stravinsky drawn by Picasso, and it’s a famous exercise from the book Drawing on the Right Side of the Brain (Amazon link).Β  So why do we start with this exercise?

2. Learning to see like an artist

As an absolute beginner, you will be symbol drawing. You draw the idea of what you see instead of the physical shapes that you see. As a result, your drawing looks off.

Here’s an example of Absolute Beginner’s symbol drawing:

symbol drawing

The difference between what you see and what’s actually there can be pretty big. For example, your brain has symbols for what an eye looks like. Some kind of an oval with a circle in it, right? But is that what eyes really look like?

Reality is diverse. First of all, the shape of an eye changes by person. Then it also changes based on the angle you’re looking at it or the facial expression of the person! Every time you draw, you’ll have to look closely at what the shape actually is. This means fighting the pattern in your brain that’s trying to mislead you.

When you look at the below picture, the first you see is “a car”. Only when you concentrate, you’ll see the actual shapes it is made of.

A car is made of many different shapes – the shapes of the wheels, body of the car, reflections,Β  windows and so on.

By flipping the Picasso drawing upside down, we force the brain to see lines instead of concepts. Now you’re no longer looking at a face, a hand or a mouth. It’s just a jumble of lines. Thanks to that, you draw a lot more accurately.

Your Picasso drawing doesn’t need critique or improvement – this exercise is about introducing you into looking at lines only.

The next steps will be drawing real-life objects and grid drawing.

3. Daily Practice

Do this one thing for me: sign your Picasso drawing with your first name. Now, next to that signature, write your name again but with your non-dominant hand (left hand for righties, right hand for lefties, mouth for ambidextrous folks).

What happened? One of the two signatures looks better than the other. Why? Your KNOWLEDGE is the same. You know how to hold a pen and you know how to write your name, so why the difference?

Well, your dominant hand has had a lot more PRACTICE writing your name. What I try to show is that knowledge is not enough. You will have to draw every day.

Mileage is king.

Try to look at your week. If you have a really bad day, when would you still find time for a quick doodle? Right after your wake up? Lunchtime? Before bed? Block that time slot for drawing. Just a minimum. If you can only do 20 minutes, do 20 minutes!

I suggest starting every drawing session with a 5-minute warm-up. The warm-up can be anything, just get your hand moving. Some draw lines and circles, others make funny doodles. Here’s some of my warm-up doodles:

You can just throw away the warm-up page afterwards, it’s purely for getting your blood flowing. This is not only a physical exercise. By making bold marks on the paper, you will feel more confident when you are starting your actual drawing afterwards.

4. Common Questions

The exercise took me longer than 20 minutes. Is that bad?

No, it doesn’t matter. Your speed will vary depending on how comfortable you are making lines. If you doodle a lot, you will draw it in 20 minutes. If you only use pen and paper for writing, or not even that, it might take you up two full hours! Do whatever is comfortable for you.

I started the exercise, but there’s no more room for his head on the page. Did I fail?

The exercise is about analysing lines, not drawing the whole picture. You did great!

Picasso was just the first step. Are you ready for more?

Here’s the short version of the next days: grab some simple objects like a banana, banana peel, tree leaf, lemon, stuffed animal, sock or tea bag. Every day, pick one, put it in front of you and draw it.

Combine this with drawing from photographs. For photographs, put a grid over the image and a grid over your sheet of paper, so you can work on the drawing one little square at a time.

Here is part 2:: Grid Drawing. Here’s part 3:Β Still Lifes

If you have any questions, leave a comment!